- Party Ideas
- Halloween Party
- Halloween Pumpkin Carving Ideas
Halloween Pumpkin Carving Ideas
Halloween pumpkin carving ideas inspire the sculptor in all of us. Many master pumpkin carvers feel that every pumpkin has a soul and you just release that soul. We prefer to think of it as personality. If the pumpkin is lopsided, has huge ridges, or an achkward stem, it just gives it more character. You bring it all to life whether it be frightful or friendly.
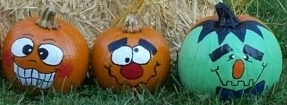
If carving a Halloween pumpkin is really not for you, consider paints, markers or black electric tape for clever, one-of-a-kind pumpkin creations. This method works on real pumpkins or plastic ones. It is a safe way to keep the kids totally involved.
We hope you find the Halloween pumpkin
carving ideas you crave here.
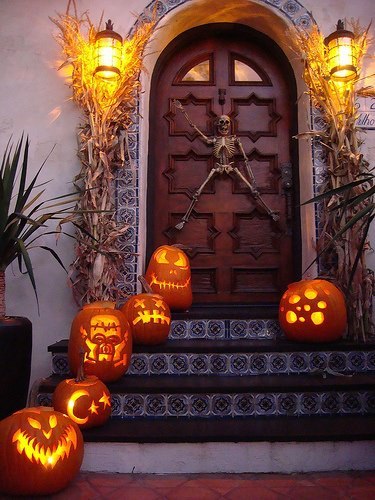
Carve a scene.
Haunt your home with a variety of Halloween pumpkin carving ideas. Different expressions, shapes, and sizes only adds to the eerie welcome.
Photo credit: We Heart It
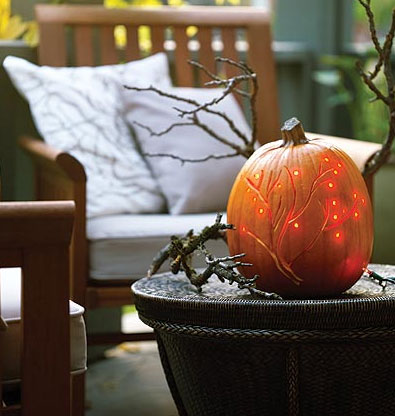
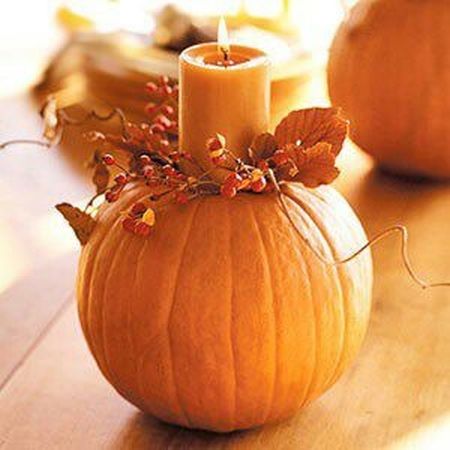
Carve a natural beauty.
Give a stylish twist to this beauty from the pumpkin patch. Perfect mood lighting for peaceful reflecting.
Photo credit: Apartment Therapy
Carve a chevron pumpkin.
Trendy pumpkin. The ever so popular chevron design has made it all the way to the pumpkin patch.
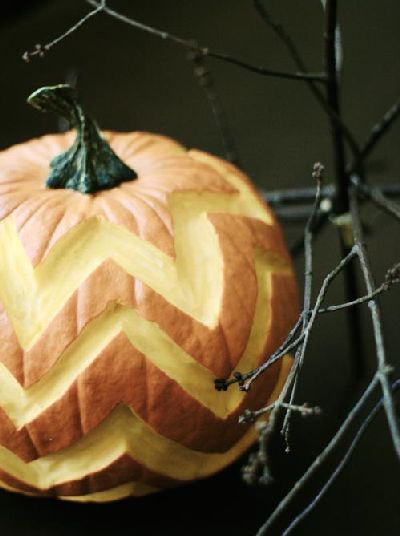
Photo credit: wit & whistle
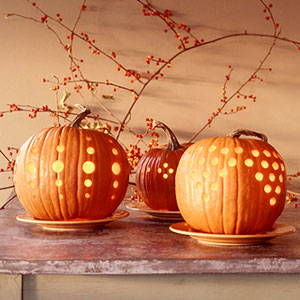
Carve a style.
Small holes lend a contemporary flair to these Halloween pumpkin carvings. Different patterns add interest to the grouping.
Photo credit: Witch Blog
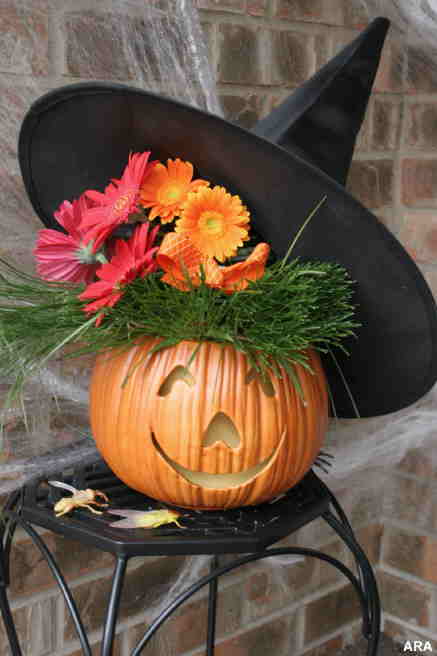
Carve a good witch.
Who says witches have to be mean and ugly? The happy expression on this pumpkin's face says this witch is having a Happy Halloween.
Carve a gruesome grin.
Say cheese and show those pearly whites. This toothsome guy with the piercing eyes makes a smile inducing jack-o-lantern.
Photo credit: The Addictive Blog
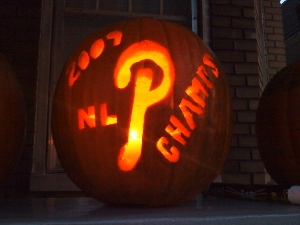
Carve your team spirit.
Carve a fan-tas-tic pumpkin to show your love of the game. The whole neighborhood know who you are rooting for this season.
Photo credit: Philadelphia Phillies
Carve sophistication.
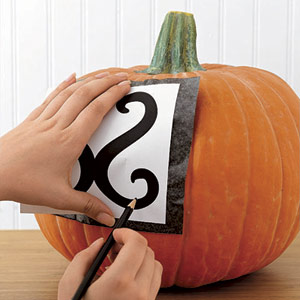
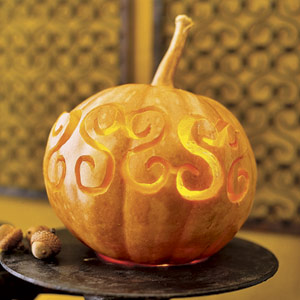
You will shriek with delight when you find out how easy Halloween pumpkin carvings are with the help of a stencil. The result is dreadfully sophisticated and shockingly fun.
Photo credit: Steven Randazzo Photography
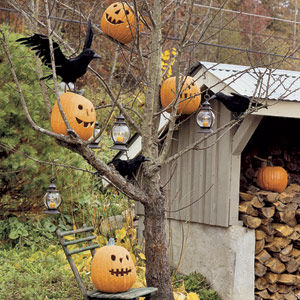
Carve a Halloween greeting.
Grinning jack-o-lanterns and beady-eyed blackbirds keep a watch out for guests. Lighting the lanterns and pumpkins after dark will make an eerie greeting.
Photo credit: Matthew Benson Photographer
Carve a disguise.
This partying, masked clan will get the party off to a mysterious start. Simple and easy to do, this unexpected Halloween pumpkin carving idea will be the topic of conversation.
Photo credit: Pinterest
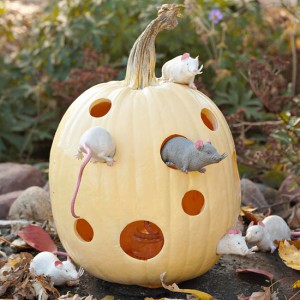
Carve an escape.
When the witches cat is away the mice will play. Halloween pumpkin carving ideas even make mice look cute.
Carve a hag-o-lantern.
There is character in the stem. Using the stem as the nose, carving facial features, and adding bewitching touches gets this witch ready for a little magic.
Photo credit: One Good Thing By Jillee
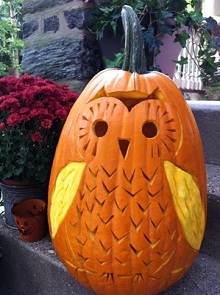
Carve wisely.
Whooooooooo dares to carve this pumpkin. Design your pumpkin to resemble the creature who rules the night.
Photo credit: Mom Finds
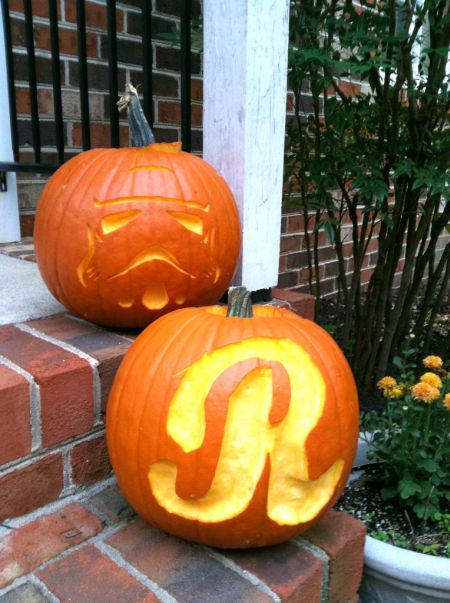
Carve a name for yourself.
Monogrammed pumpkins are stylish haunters unique to you. One initial makes a personal statement, but several Halloween pumpkin carvings grouped together can spell out a greeting to welcome visitors.
Photo credit: Attempts At Domestication
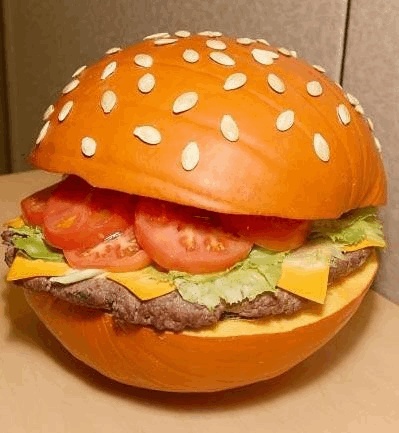
Carve up an appetite.
Yes, that is a pumpkin. The seeded bun is actually a pumpkin with pumpkin seeds glued on top. However, the lettuce, tomato, cheese, and meat are real.
Photo credit: The Optical Vision Site
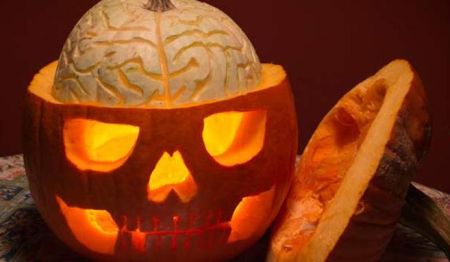
Carve a head above the rest.
Brains matter, but it doesn't take a brainiac to create this cool pumpkin carving. Right brain, left brain, brain stem. This nerdy pumpkin has lots of brain power. Let your carvings be a head above the rest.
Photo credit: Fine Dining Lovers
Photo credit: Saxton Studio
More Halloween pumpkin carving ideas. . .
Cookie Cutter Pumpkins
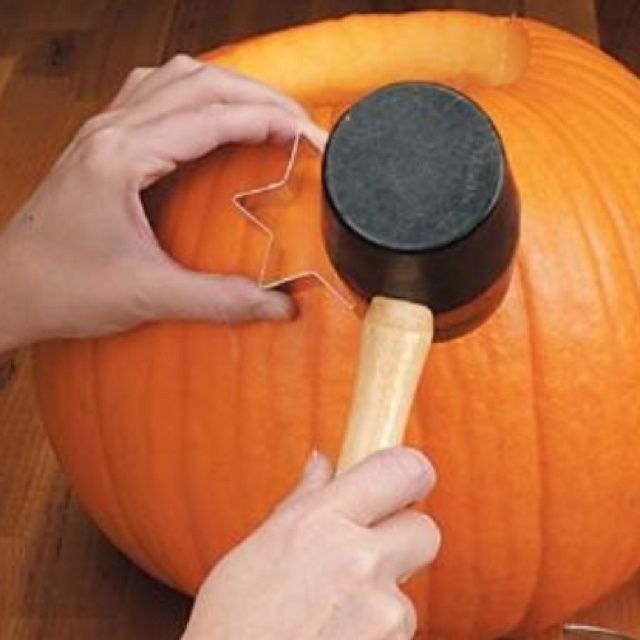
All you need is a pumpkin, cookie cutter, rubber mallet, and a sharp paring knife. Clean out your pumpkin and select your favorite cookie cutter. Position the cookie cutter on the pumpkin and tap with a rubber mallet. Once the cutter is all the way through the pumpkin, insert a knife and cut through the pumpkin skin. Light up your pumpkin with a candle or glow stick.
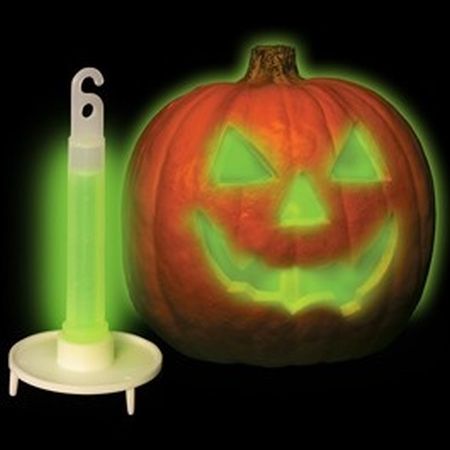
Let it glow.
Place a glow stick in your carved pumpkin to create an eerie glow. This is much safer than a candle especially for small children.
How to carve a pumpkin.
Put your Halloween pumpkin carving ideas to the test with these quick and easy steps. Part of a great plan is proper equipment. While you may have just what you need at home, consider pumpkin carving kits. For the kids, consider tools with plastic handles and dull, serrated edges to keep the fun safe.
Prepare.
Get your work area protected and ready to cut. Then decide which side of the pumpkin will display the front of the design you have chosen.
Cut.
Cut out the top of the pumpkin at an inward angle with a sharp knife so it won't fall in. Cutting at an angle forms a ledge to hold the lid in place. And rather than a perfect circle, carve a point at one end to orient the top. Cut a small triangular vent, or you will cook the lid and it may fall in.
Scoop.
Scoop out the insides with a large spoon or pull the innards out by hand.
Sketch.
Trace or sketch design directly onto pumpkin. However if that scares you, trace the design on a paper and cut it out. Attach Halloween patterns to the pumpkin with tacks or push pins. Cut around the pattern to take out all the guesswork.
Carve.
Carve design carefully. Broken pieces can be reattached with toothpicks or shish kabob skewers. Patience is the key.
Light.
Insert a candle to let the flickering candlelight shine through. Add more candlelight for bigger pumpkins. Make sure to keep candles out of the reach of small children. Battery operated tealights are also a safe option for young children.
Once you have carved your pumpkin, it will last no longer than three days.
The scoop on seeds. . .
Try making a delicious snack using the seeds inside the pumpkin. There are many flavors to choose from, but here is one of the easiest.
No-Bake Salted Pumpkin Seeds
1 cup fresh pumpkin seeds
1/4 teaspoon salt
In a small bowl, toss the pumpkin seeds with salt. Spread half of the seeds in a single layer on a microwave-safe plate. Microwave, uncovered, on high for 1 minute; stir. Microwave 1-2 minutes longer or until seeds are crunchy and lightly browned, stirring after each minute. Repeat with remaining pumpkin seeds. Store in an airtight container. Yield: 1 cup.

